Making your own sublimation metal sheet is a rewarding process that opens up a world of creative possibilities. With the right materials and a little practice, you can produce stunning, durable, and highly personalized metal prints that will impress everyone. From vibrant photo panels to professional signage, the applications are endless.

What is Sublimation Metal?
Sublimation metal refers to specially coated aluminum sheets designed to receive sublimation ink. The magic happens when heat and pressure are applied, transforming solid ink into a gas that infuses directly into the polymer coating of the metal. This results in an incredibly durable, scratch-resistant, and vivid image that is embedded within the surface, not just on top of it. Unlike traditional printing, sublimation printing offers a seamless, long-lasting finish.
Why Choose Sublimation Metal Sheets?
There are many reasons why custom metal prints made with sublimation are so popular:
- Vibrant Colors: Sublimation produces exceptionally bright and rich colors with excellent detail.
- Durability: The image is embedded into the metal, making it resistant to scratches, water, and fading.
- High Gloss Finish: Many metal sheets come with a beautiful glossy finish that enhances the image.
- Modern Aesthetic: Metal prints offer a sleek, contemporary look that suits any décor.
- Unique Customization: You can create truly unique items, from personal photos to business signs.
Materials You’ll Need
Before you start making your own sublimation metal sheet, gather these essential items:
- Sublimation Metal Blanks: These are specially coated aluminum sheets ready for printing.
- Sublimation Printer: A printer equipped with sublimation ink cartridges.
- Sublimation Ink: Special ink that turns into a gas when heated.
- Sublimation Paper: A unique paper that releases the ink efficiently under heat.
- Heat Press Machine: Crucial for applying the necessary heat and pressure.
- Heat-Resistant Tape: To secure your design to the metal blank.
- Protective Paper (Butcher Paper or Silicone Sheets): To protect your heat press.
- Design Software: Like Adobe Photoshop or Illustrator, or even free alternatives.
- Gloves: To prevent fingerprints on the metal blank.
Step-by-Step Guide to Making a Sublimation Metal Sheet
Here’s how to create your own stunning metal prints:
Step 1: Design Your Artwork
First, create or choose your design. Remember to always mirror your image in your software before printing. This is vital because the image will be flipped during the transfer process. Ensure your design fits the dimensions of your chosen sublimation metal blank.
Step 2: Print Your Design
Load your sublimation paper into your sublimation printer. Print your mirrored design using sublimation ink. Make sure your printer settings are optimized for high-quality image output. The print on the paper might look dull, but don’t worry – the colors will pop once transferred to the metal.
Step 3: Prepare the Metal Sheet
Carefully peel off any protective film from your sublimation metal sheet. Use gloves to avoid leaving fingerprints or dust. Ensure the surface is perfectly clean and free from debris. Align your printed design onto the coated side of the metal blank. Secure the paper in place with small pieces of heat-resistant tape to prevent shifting, which can cause ghosting.
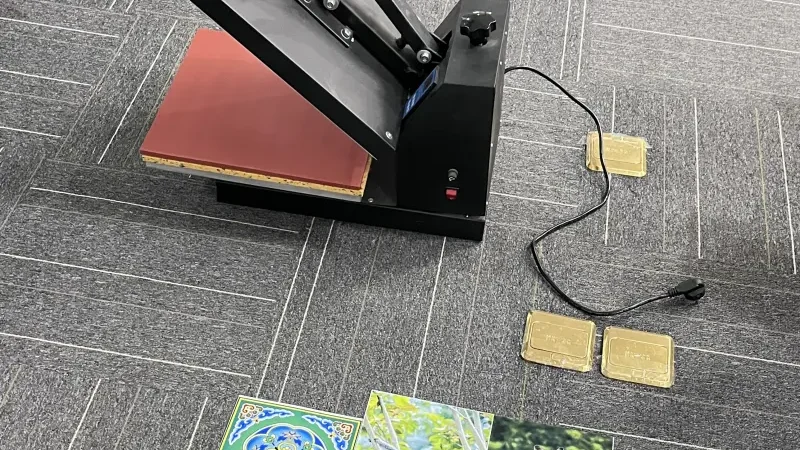
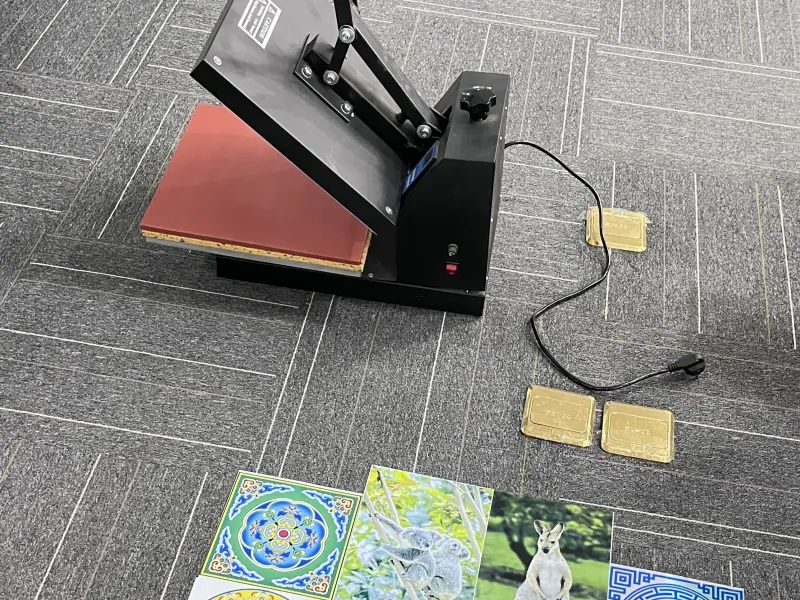
Step 4: Heat Press Sublimation
Preheat your heat press machine to the recommended temperature and set the appropriate time and pressure (these usually come with your metal blanks or heat press manual).
Place a layer of protective paper on the bottom platen of your heat press.
Position your metal blank with the sublimation paper (design side down) on top of the protective paper.
Place another layer of protective paper on top of the metal blank.
Close the heat press and apply the heat and pressure for the specified time.
Typical settings: Temperature between 385∘F−400∘F (195∘C−205∘C), Time between 60-120 seconds, Medium pressure.
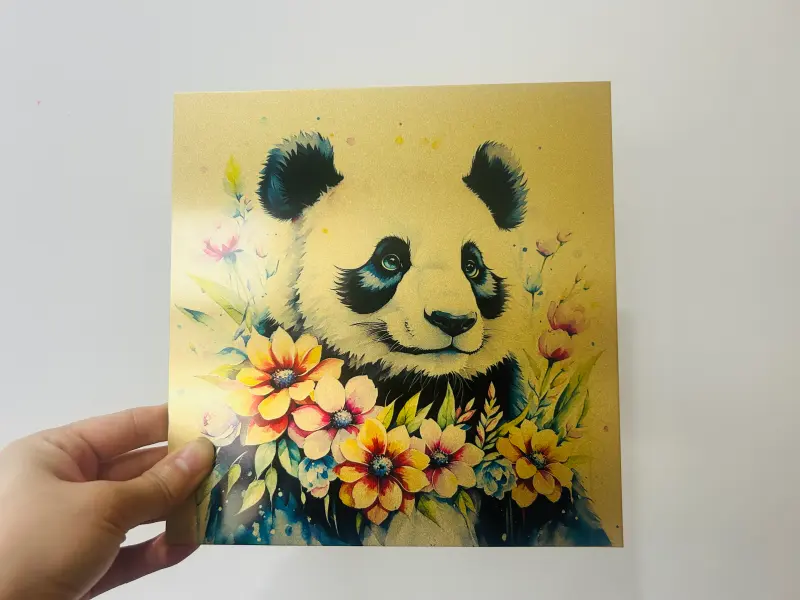
Step 5: Finishing Touches
Once the time is up, carefully open the heat press. Using heat-resistant gloves, remove the metal blank. Peel off the sublimation paper immediately while the metal is still hot. This helps prevent ghosting. Allow your new custom metal print to cool down completely on a flat, clean surface. Watch as the vibrant colors and sharp details are revealed!
Tips for Best Results
- Quality Materials: Always use high-quality sublimation metal blanks, inks, and paper for the best color reproduction and durability.
- Correct Settings: Experiment with your heat press temperature, time, and pressure settings to find the sweet spot for your specific materials.
- Cleanliness is Key: Dust, fibers, or fingerprints on your metal blank can show up as imperfections in your final print.
- Proper Ventilation: Sublimation produces fumes; ensure you work in a well-ventilated area.
- Safety First: Always use heat-resistant gloves when handling hot items from the heat press.
Common Applications of Sublimation Metal Sheets
The versatility of sublimation metal sheets makes them ideal for a wide range of uses:
- Awards and Plaques: Create elegant and personalized awards for achievements.
- Photo Panels: Turn cherished photographs into stunning, long-lasting art pieces.
- Signage: Durable and weather-resistant signs for businesses or events.
- Decorative Items: Custom wall art, coasters, and unique home décor.
- Jewelry: Sublimate small metal blanks into unique pendants or earrings.
- Art Prints: Artists can reproduce their work with incredible clarity and color.
- Business Cards: Stand out with unique, metallic business cards.
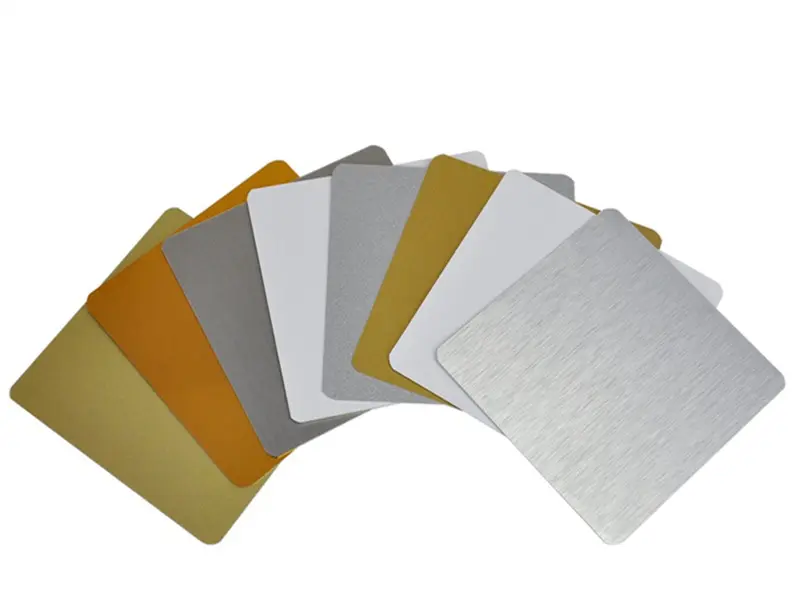
Types and Specifications of Sublimation Metal Sheets
Sublimation metal blanks come in various forms to suit different projects. Here’s a look at some common types and their specifications:
| Feature | Common Specifications | Digitalized Types / Examples |
|---|---|---|
| Size | A4 (8.27×11.69 inches), A3 (11.69×16.54 inches), Custom Sizes | Letter, Legal, 4×6, 5×7, 8×10, 11×14 |
| Thickness | 0.5 mm (.020 inches), 0.75 mm (.030 inches), 1 mm (.040 inches) | Standard (0.5mm), Heavy Duty (0.75mm, 1mm) |
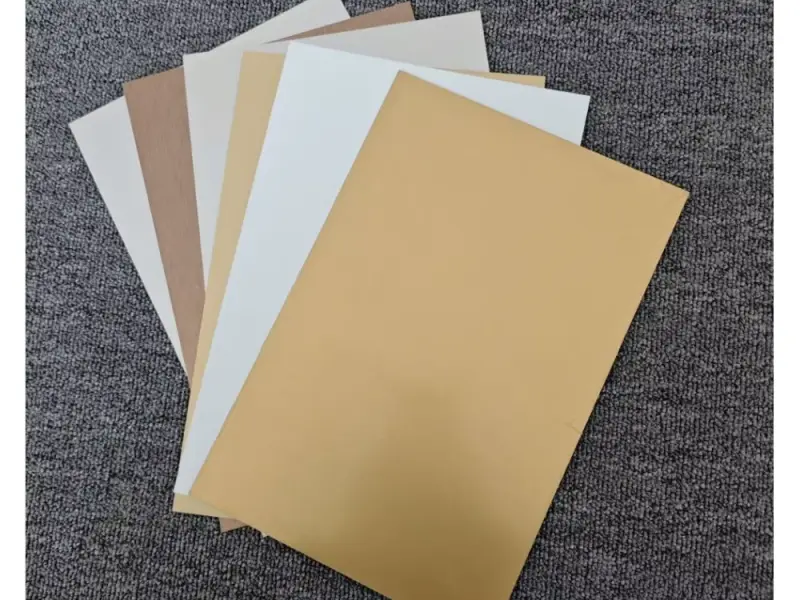
| Finish | Gloss White, Matte White, Brushed Aluminum, Clear Gloss, Clear Matte | High Gloss, Satin Finish, Metallic Sheen |
| Shape | Rectangular, Square, Circle, Oval, Heart, Custom Die-Cut | Standard Geometrics, Photo Cutouts, Custom Logos |
| Edge | Square Edge, Rounded Corners, Beveled Edge | Smooth Cut, Soft Edge |
Troubleshooting Common Issues
Even with the best preparation, issues can sometimes arise. Here are quick fixes for common problems:
- Faded Prints: Increase heat, time, or pressure. Check if your ink is fresh.
- Ghosting: Image appears blurred or duplicated. Ensure the paper is firmly taped and doesn’t shift during transfer. Peel paper immediately after pressing.
- Uneven Transfer: Ensure your heat press applies even pressure across the entire platen. Check for cold spots.
- Scratches/Fingerprints: Always handle blanks with gloves and keep surfaces clean.
[wpforms id=”16″]